Disclaimer: Information in this Basic Guide is intended to provide general information on a particular subject and is not an exhaustive treatment of such subject. Renegade Motorsports, and International Grinding, makes no representations, implied or otherwise, that the content available in this Basic Guide is free from errors or omissions. Users are encouraged to consult professional advice before taking any course of action related to information, ideas, or opinions expressed in this Basic Guide. All performance modifications and installations are performed at the customer's own risk.
Renegade Motorsports, International Grinding - S2000 Short Shift Kit:
(1) Shifter assembly (shifter, thread protector, insulator, ball seat, pivot cover)
(1) Aluminum fulcrum riser
(1) Steel lock ring *NOTE: The most recent version of our shifter no longer uses a lock ring. Use the riser with logo side faced up.
(3) Class 10.9 bolts
(1) Honda OEM Urea grease
Tools Required:
(1) Ratchet
(1) 6" extension
(1) 10mm socket
(1) Flat-head screwdriver
(1) Scissors
(1) Latex glove
Difficulty: 3.5/10
Completion Time: ~25 minutes

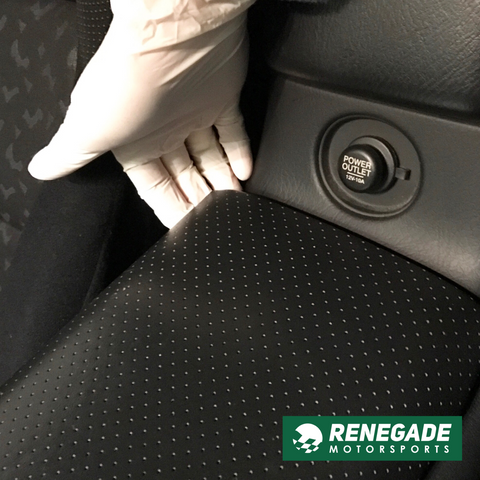
1. Pull the parking brake up as high as possible (this will help ease the center console on and off during installation). Put the shifter into neutral. Remove the shift knob.
2. Carefully pull up on the upper right corner of the center console until it snaps out of place. Repeat the process on the upper left corner of the center console.

*Image depicts leather boot, rubber boot, and white shift ring already removed.
3. Carefully pull up on the bottom right corner of the center console until it snaps out of place. Repeat the process on the bottom left corner of the center console.
4. At this point, once the primary connecting spots have been detached, slide the center console up and over the shifter and parking brake. Unplug the roof, defrost, and hazard buttons (in accordance with your model year), and remove the center console.
Tip: Putting the shifter into different gears when needed will increase access to tabs/bolts.
5. Use a flat-head screwdriver to carefully wedge the white shift boot ring outwards (from the inner side of the ring), while pulling up on the accordion shift boot. You will see four tabs, which are at approximately 2, 4, 8 and 10 o'clock. Pry these tabs loose.

6. Once the four tabs have been pried loose, pull up on the white shift boot ring and accordion shift boot to remove them from the shifter.
7. Pull up and back on the rubber shift lever boot tab at 12 o'clock. Then rotate the boot to expose and remove the three (3) 10mm bolts from the shifter located at approximately 1, 6, and 11 o'clock. Remove the shifter.
Tip: Prior to removing the last 10mm bolt, push the shifter down to relieve the spring pressure until the bolt is out. This will help the spring from popping up and coming out with the shifter. Leave the spring in its original location.

8. Cut a corner of the Honda Urea grease pouch that was provided (opposite side of the zip closure). Liberally grease the Renegade Motorsports shifter inside of the ball seat joint, pivot cover, aluminum fulcrum riser, and contact points.
Tip: Do not remove the thread protector until the shift knob is ready to be reinstalled at the very end.
9. Place the aluminum fulcrum riser over the ball seat bushing (it will only fit one way; align the notch). Place the steel lock ring over the aluminum riser (it will only fit one way, designated with the "top" sticker and/or the two stamp marks).
10. Place the Renegade Motorsports shifter back into the car (with the shifter leaning to the left), press down on the shifter to compress the spring (as if you were going to go into reverse), then finger tight the three (3) extended 10mm bolts into place. Torque the bolts to 7.2 ft-lbs (over torquing will impede shifting; lack of of torque my cause the bolts to vibrate loose).

11. Reinstall the accordion shift boot and white shift boot ring at the corresponding 4 points, at approximately 2, 4, 8 and 10 o'clock.
12. Slide the center console back over the shift lever and parking brake. Plug in the roof, defrost, and hazard buttons (in accordance with your model year).
13. Firmly press down on the four corners of the center console to snap it back into place. Reinstall the shift knob. Enjoy!
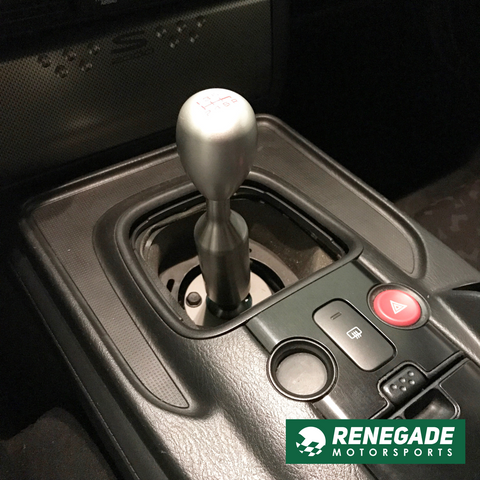
*Image depicts not using leather boot, rubber boot, or white shift ring
Leave a comment